Welcome to Your Office 365 Training
Everything you need to get up and running with Microsoft 365 at Twelve Weeks to Wellness. Work through each module at your own pace.
Getting Started
Sign in to Microsoft 365 for the first time and set up the Authenticator app on your phone.
OneDrive
Learn how to store, organize, and share your files in the cloud so they're always within reach.
Outlook
Get comfortable with your work email and calendar — sending messages, scheduling, and staying organized.
Microsoft Teams
Chat with coworkers, join video calls, and collaborate on projects in real time.
SharePoint
Find and use shared documents, team resources, and company news all in one place.
Getting Started: First-Time Sign-In
Sign in to Microsoft 365 for the first time and set up the Microsoft Authenticator app. This takes about ten minutes, and you only have to do it once.
Before You Start
You will need two things in front of you: your computer and your mobile phone. You will use both together for this first setup.
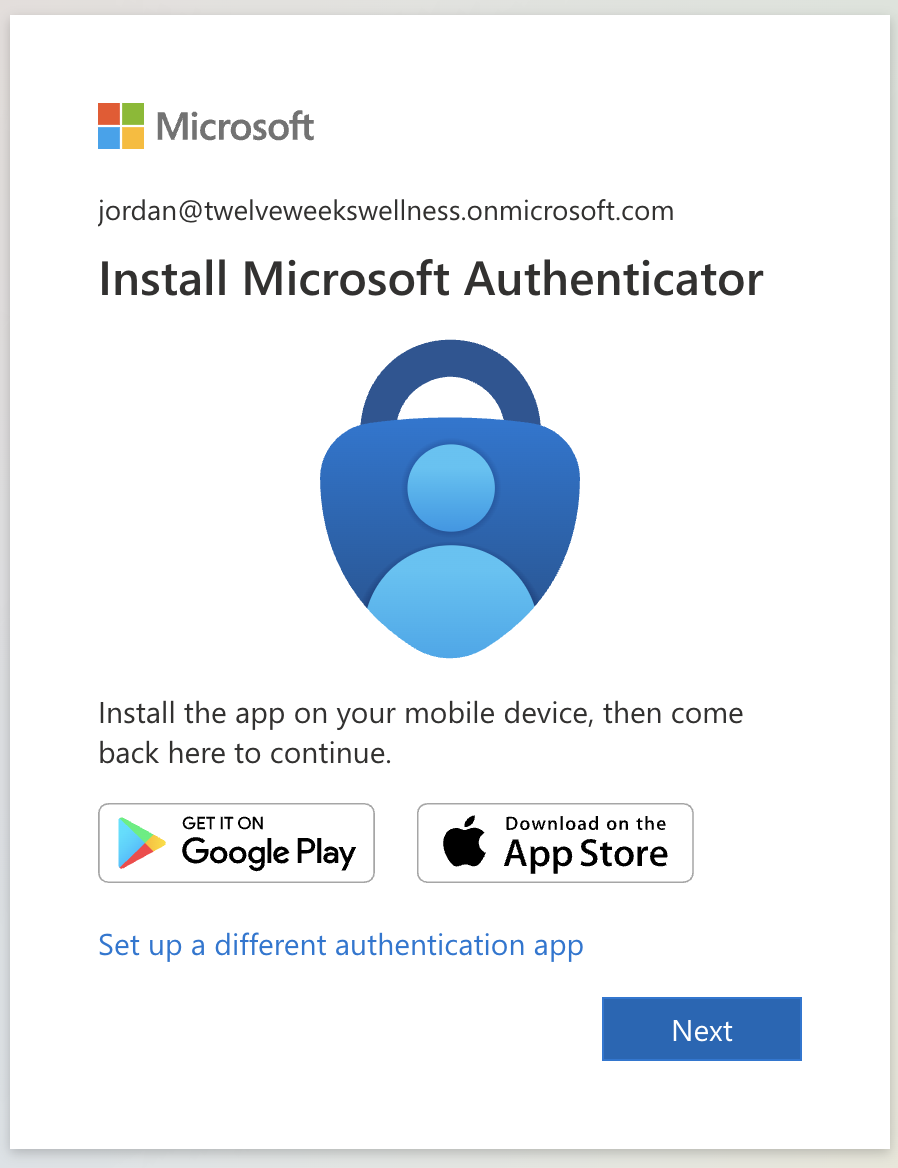
Install the Microsoft Authenticator app on your phone
The Authenticator app is what confirms it is really you when you sign in. Install it first, before anything else.
- On your phone, open the App Store (iPhone) or the Google Play Store (Android).
- Search for Microsoft Authenticator.
- Install the app. It is free, and the icon is a blue lock on a white background.
- Open the app once to confirm it is installed. You do not need to set anything up in it yet — just leave it open or ready on your phone.
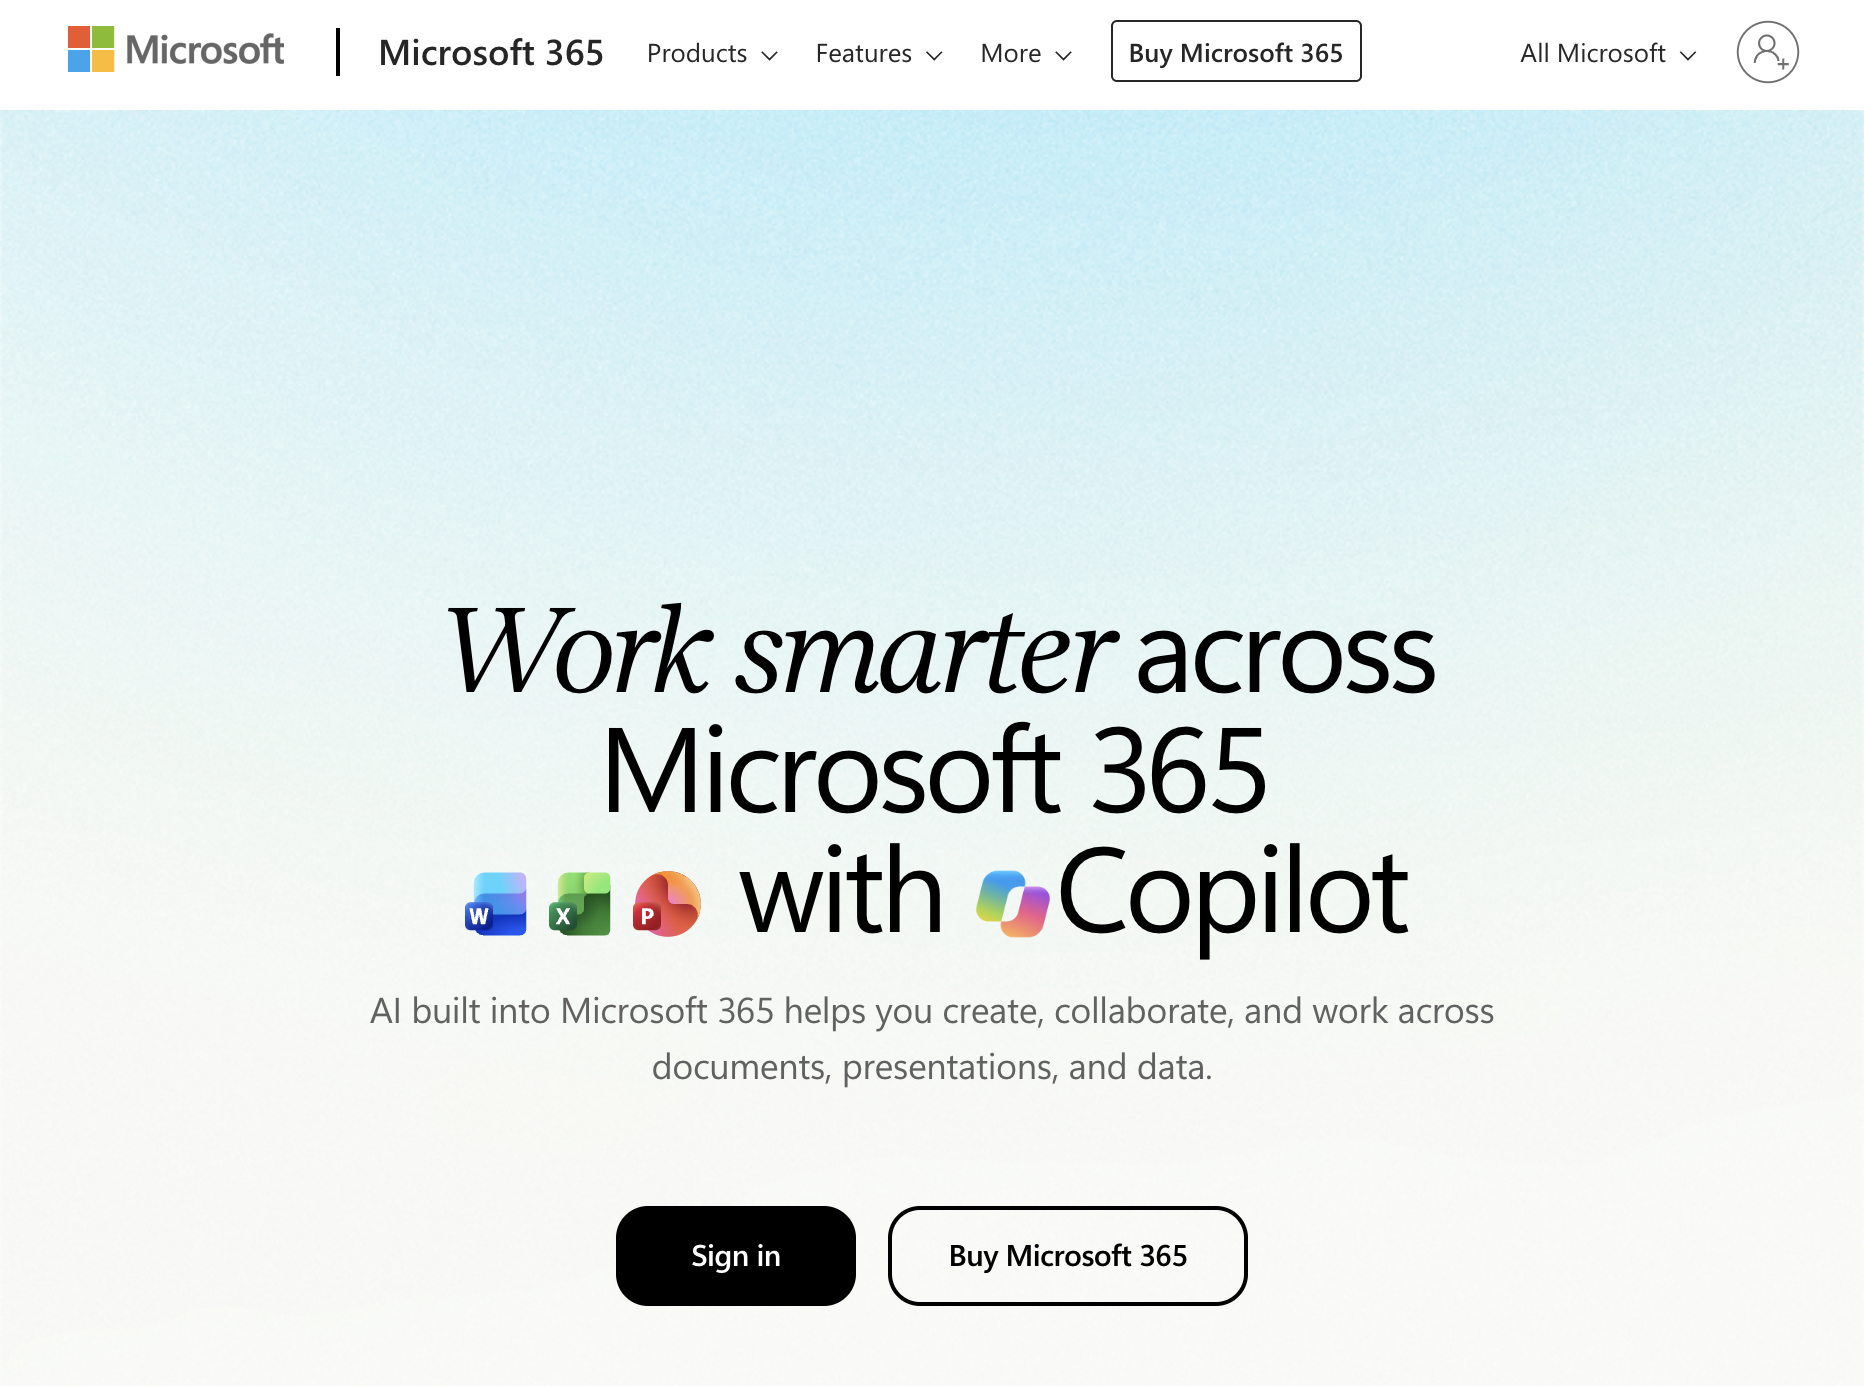
Step 1 — Go to the Sign-In Page
- On your computer, open your web browser and go to office.com.
- Click Sign in.
- Enter your work email address. For now this will look like firstname@twelveweekswellness.onmicrosoft.com. Your address will later change to yourname@12weekstowellness.com, but either way you will be told exactly what to use.
- Click Next.
Step 2 — Set Your Password
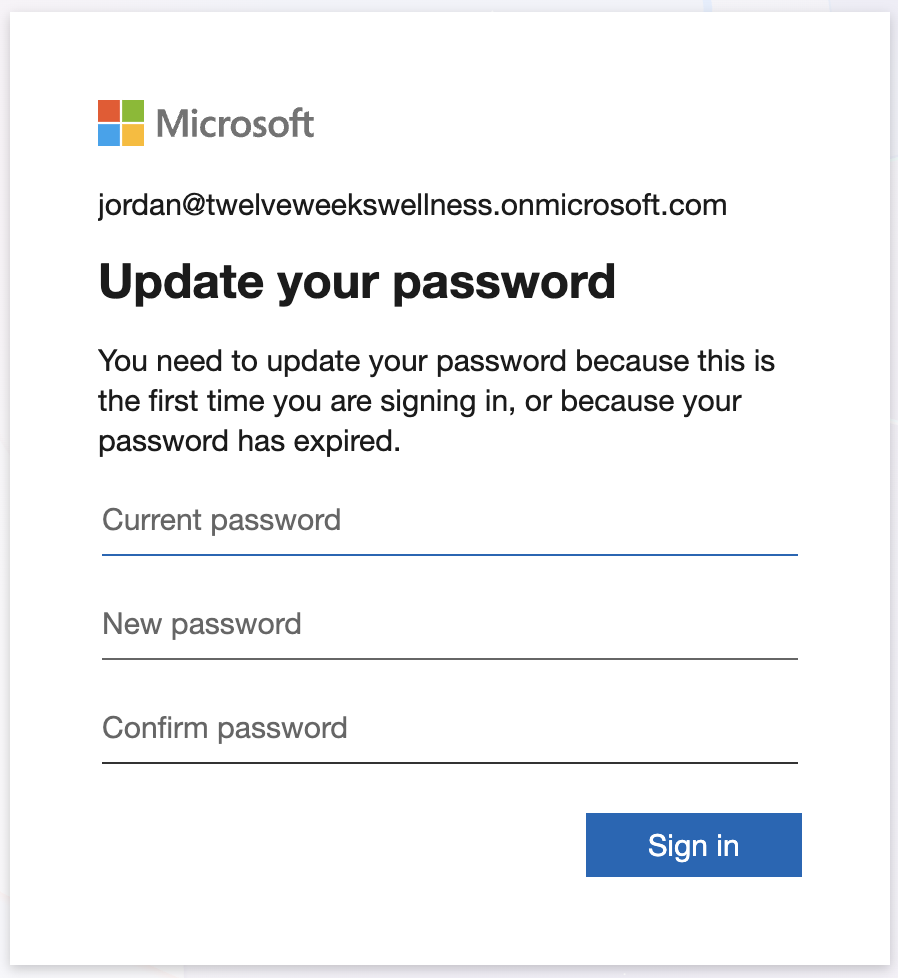
- Enter the temporary password you were given.
- Click Sign in.
- You will be asked to update your password. Enter the temporary password once more in the first box, then choose your own new password and type it into the next two boxes.
- Click Sign in.
Step 3 — Start the Security Setup
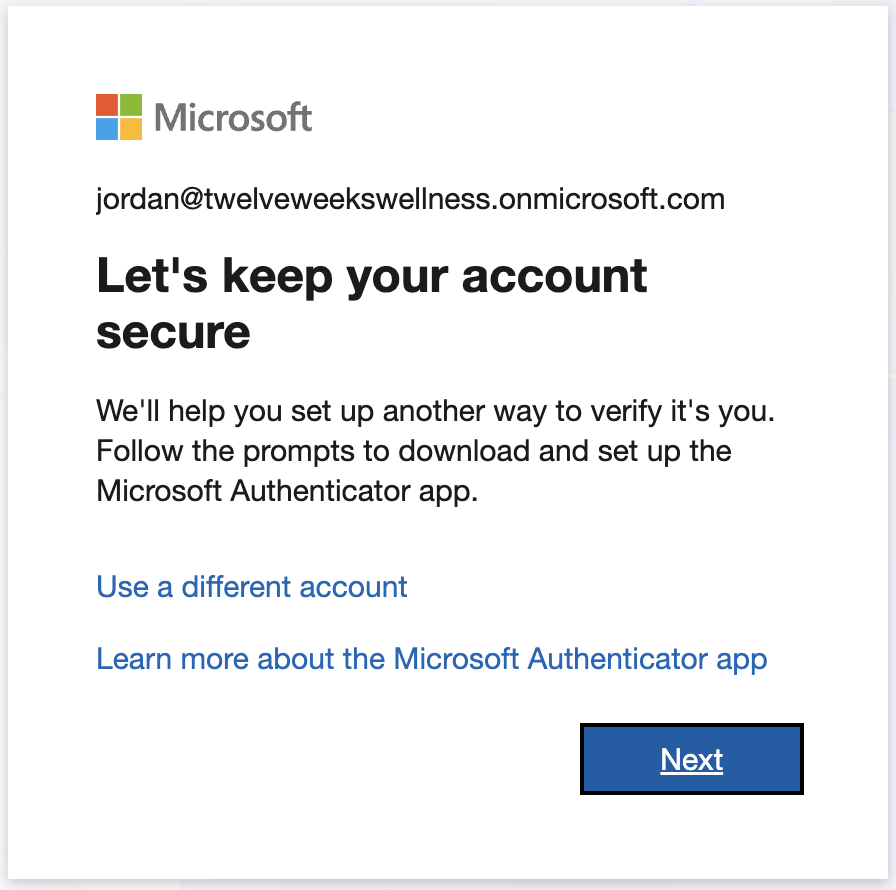
After setting your password, you will see a screen that says More information required. This is normal — it is the start of connecting your phone's Authenticator app to your account.
- Click Next.
- The next screen will mention the Microsoft Authenticator app. Since you already installed it, click Next again.
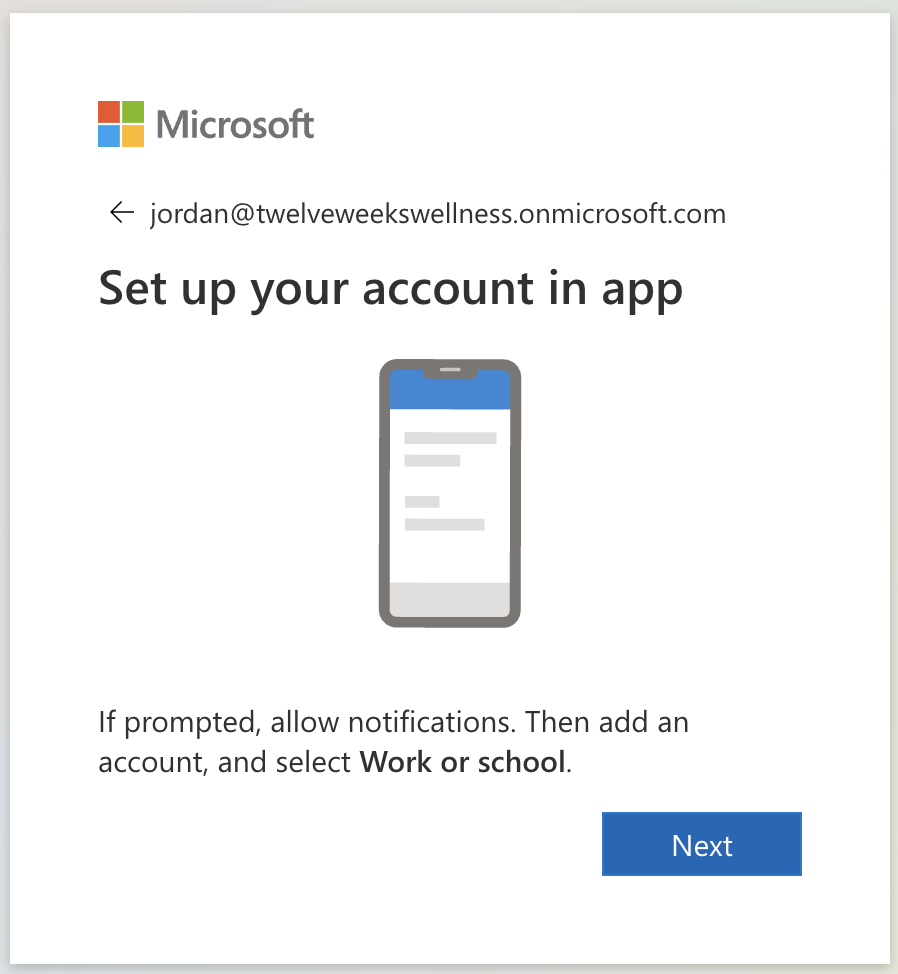
- It will then say Set up your account and wait for you to scan a code.
Step 4 — Connect the App by Scanning the Code
Now you use your phone and your computer together.
- On your phone, open the Microsoft Authenticator app.
- Tap the plus (+) sign, usually in the top corner, to add an account.
- Choose Work or school account.
- Choose Scan a QR code. Your phone's camera will open.
- Point your phone's camera at the QR code shown on your computer screen.
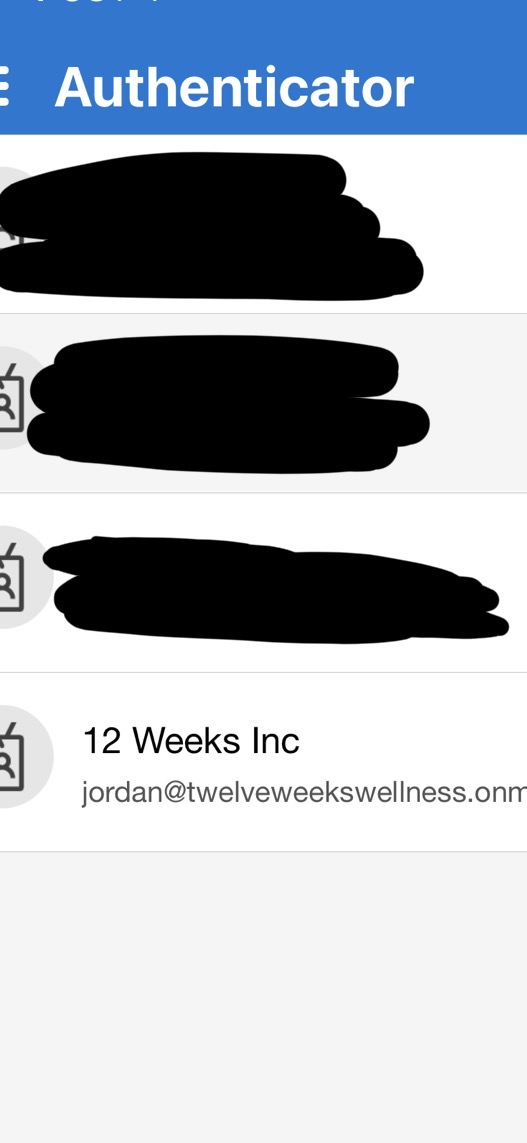
- The app will add your account automatically once it reads the code.
Step 5 — Approve the Test Notification
To confirm it is all connected, Microsoft sends a test.
- Back on your computer, click Next.
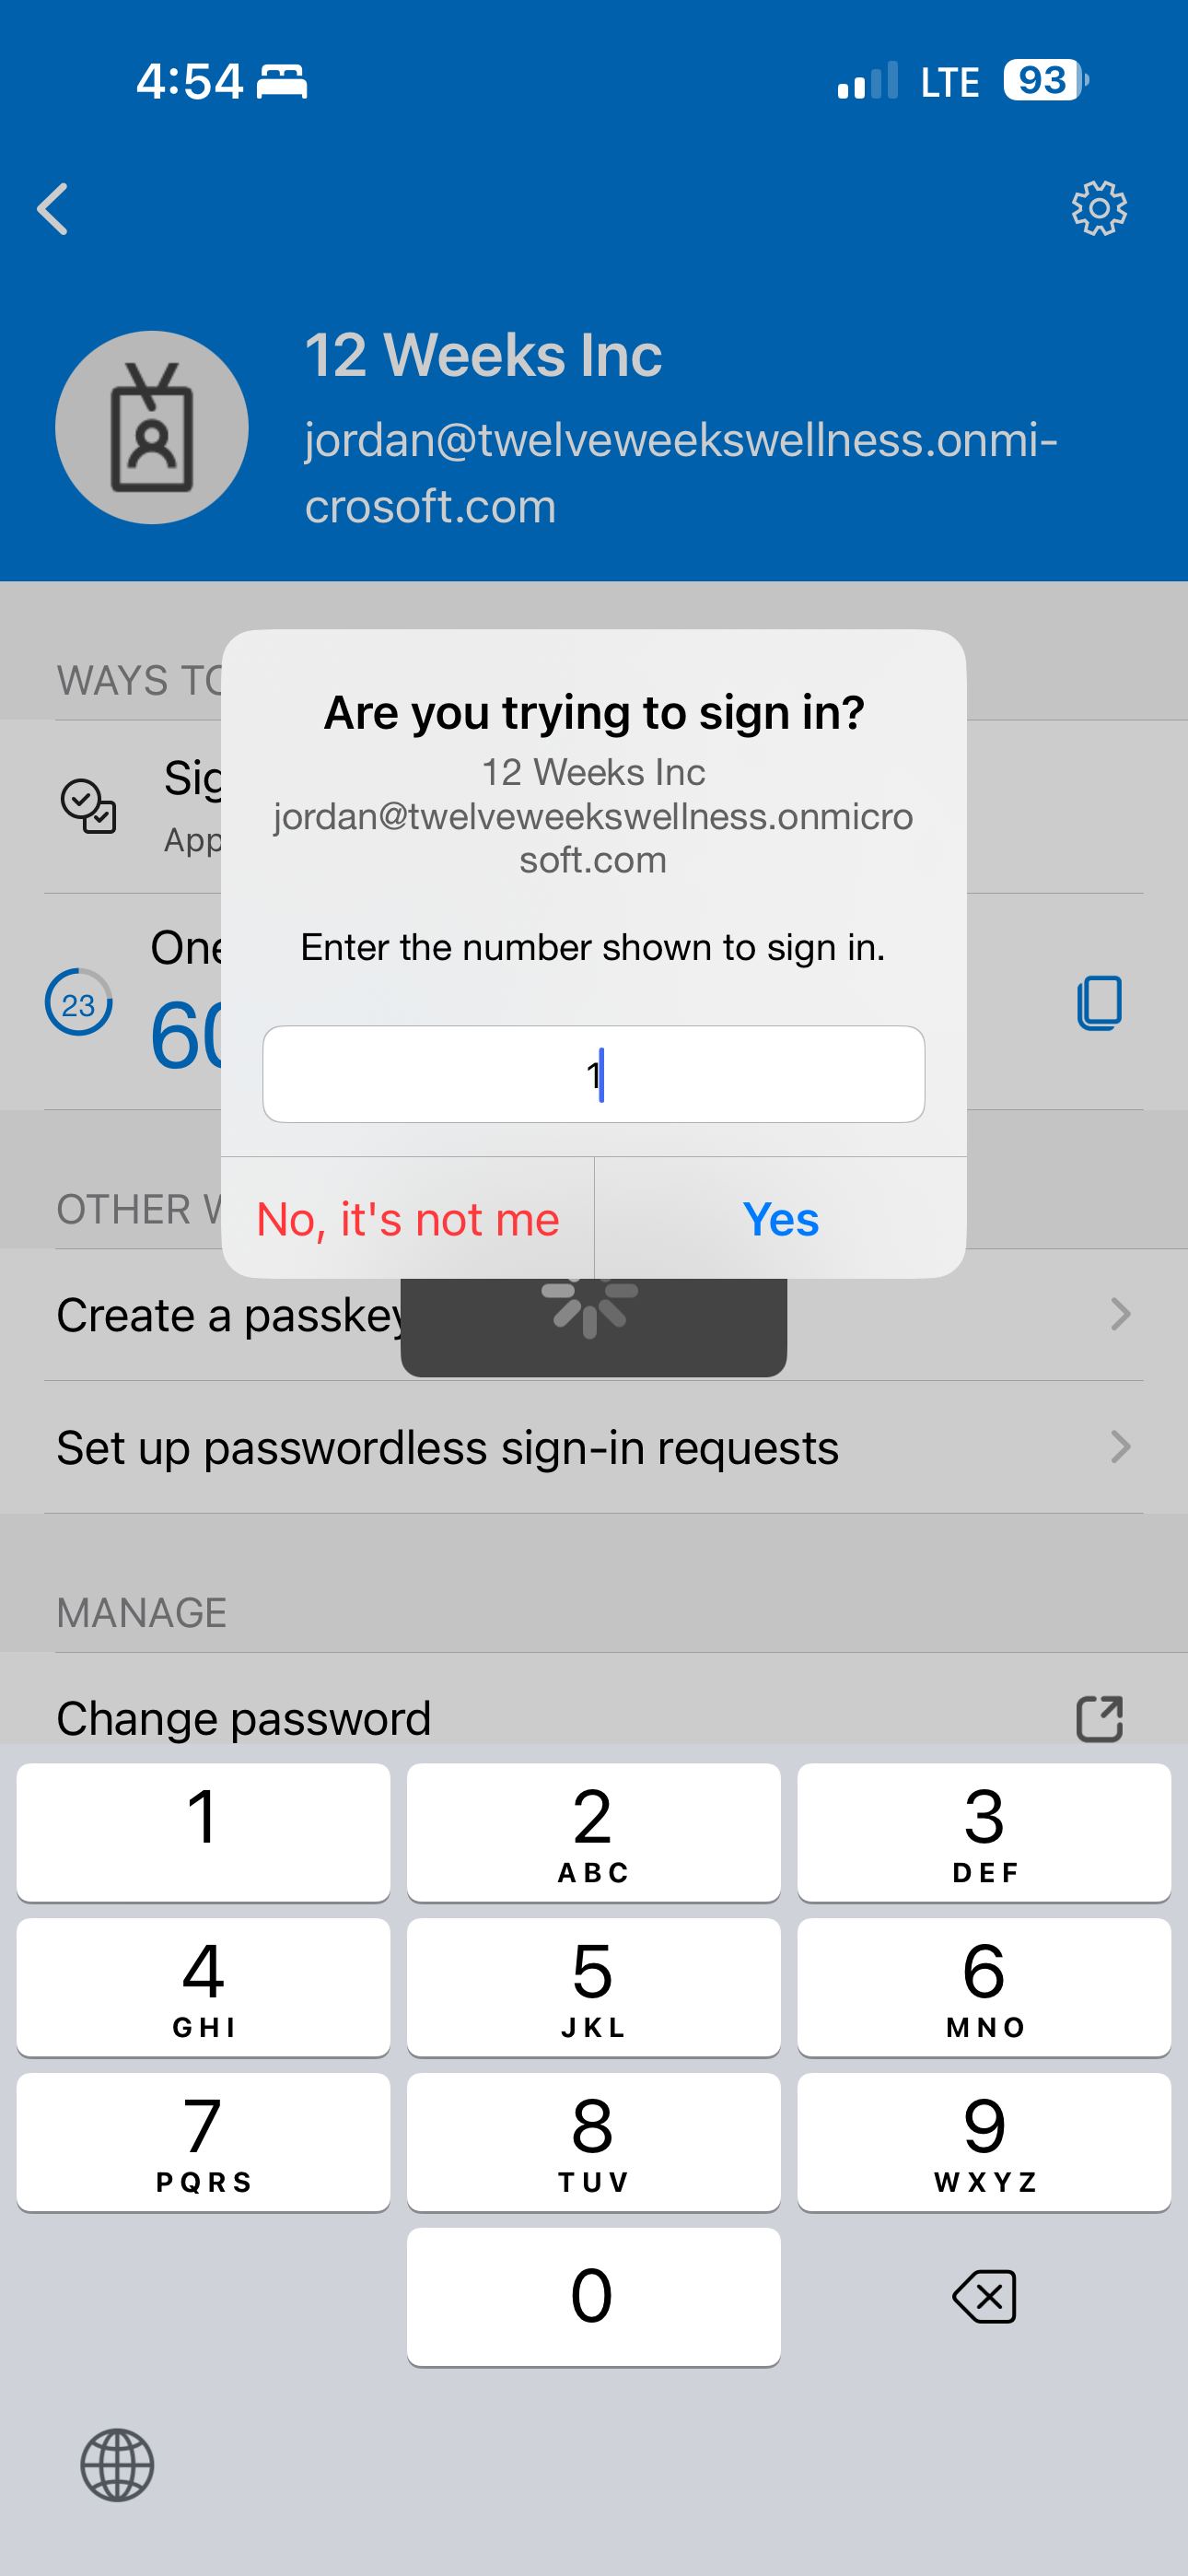
- A notification will appear on your phone asking you to approve a sign-in, usually showing a number.
- If you see a number on your computer screen, type that same number into your phone's app, then approve it. If there is no number, simply tap Approve on your phone.
- Your computer will confirm the setup was successful.
- Click Next, then Done.
You're In
You will now land in Microsoft 365, where you can see your email, calendar, files, and apps. That is the whole setup, and you will not have to do it again.
From now on, when you sign in, you will enter your email and password as usual, and then simply approve the notification on your phone with a tap. That second step is what keeps your account secure.
If Something Goes Wrong
- You did not get a phone notification. Open the Microsoft Authenticator app on your phone manually. The six-digit code shown there can also be used to sign in.
The one-time password code in the Authenticator app
- The QR code will not scan. Make sure there is enough light and hold the phone steady. There is also a link on the computer screen that says you cannot scan the code, which gives you a code to type in by hand instead.
- You are stuck or locked out. Contact Sam and he can reset your sign-in setup so you can start this again. Nothing is broken — it just needs a quick reset from the admin side.
OneDrive: Your Files in the Cloud
OneDrive is your personal file storage in Microsoft 365. Think of it as a hard drive that lives in the cloud — your files are always backed up, always accessible from any device, and easy to share with teammates when you need to.
What You'll Learn
- How to access OneDrive from your browser
- Uploading and organizing files into folders
- Sharing files and folders with teammates
- Syncing files to your computer for offline access
Outlook: Email & Calendar
Outlook is where you'll manage your work email and calendar. It brings your inbox, contacts, and schedule together in one place — making it easy to communicate and stay on top of your day.
What You'll Learn
- Navigating your inbox and reading emails
- Composing and sending messages
- Managing your calendar and scheduling events
- Setting up your email signature
Microsoft Teams: Communication & Collaboration
Microsoft Teams is your hub for day-to-day communication. It's where you'll chat with coworkers, join video calls, and collaborate on projects in real time.
What You'll Learn
- Finding your way around the Teams interface
- Sending messages and starting conversations
- Joining and scheduling video meetings
- Sharing files in a chat or channel
SharePoint: Shared Resources
SharePoint is where your team stores shared documents, news, and resources. While OneDrive is your personal space, SharePoint is the communal library — a place where everyone on the team can find what they need.
What You'll Learn
- Accessing your team's SharePoint site
- Finding shared documents and resources
- Understanding document libraries
- Navigating team news and announcements